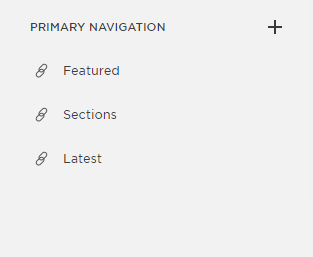
How to Create Secondary Menu in Squarespace
Here is the following steps to create secondary menu into Squarespace website.
1. Enable Developer Mode
a) First, Login into your Squarespace admin panel using /config at end of your website URL.
like- https://your-domaine.com/config
b) Navigate to Settings=>Advanced=> Developer Mode and enable developer mode.
c) Now you will get details of your Squarespace SFTP account. Configure these details with your Filezilla or any other server connecting tool.
2. Menu Registration
a)Please open template.conf file and find the navigations into JSON array.
b) Apend your menu name and title into Navigation JSON array as given below.
{
"title": "Primary Navigation",
"name": "topnav"
},
c) Now update file on server and you could see new menu register into your Squarespace website under Pages section.
3. Display Menu
You have successfully registered your menu. Now you want to display this menu into site, here is following steps. Please follow.
a) Open site.region file and paste the following code.
<nav class="Header-nav Header-nav--topnav" >
<squarespace:navigation navigationId="topnav" template="header-nav" />
</nav>
b) Now your menu item will display according to your code. Using css make menu more attractive and good looking on site.
Note: You could make sure which nav template using your current theme. Go to Blocks folder and find the right nav template.
Please comment if you are facing any problem. I will glad to help you.
Cheers ❤


Comments
Post a Comment